|
These days we are never more than a month or two away with a new training metric being introduced by one platform or another. TTE, W’, FRC, mFTP, 4DP and the list goes on. Many coaches and athletes use these metrics with great success in their training prescription and review. But often take large amounts of good clean consistent power data to be effective while learning the ins and outs of each of these and understanding the components of each metric can take some time.
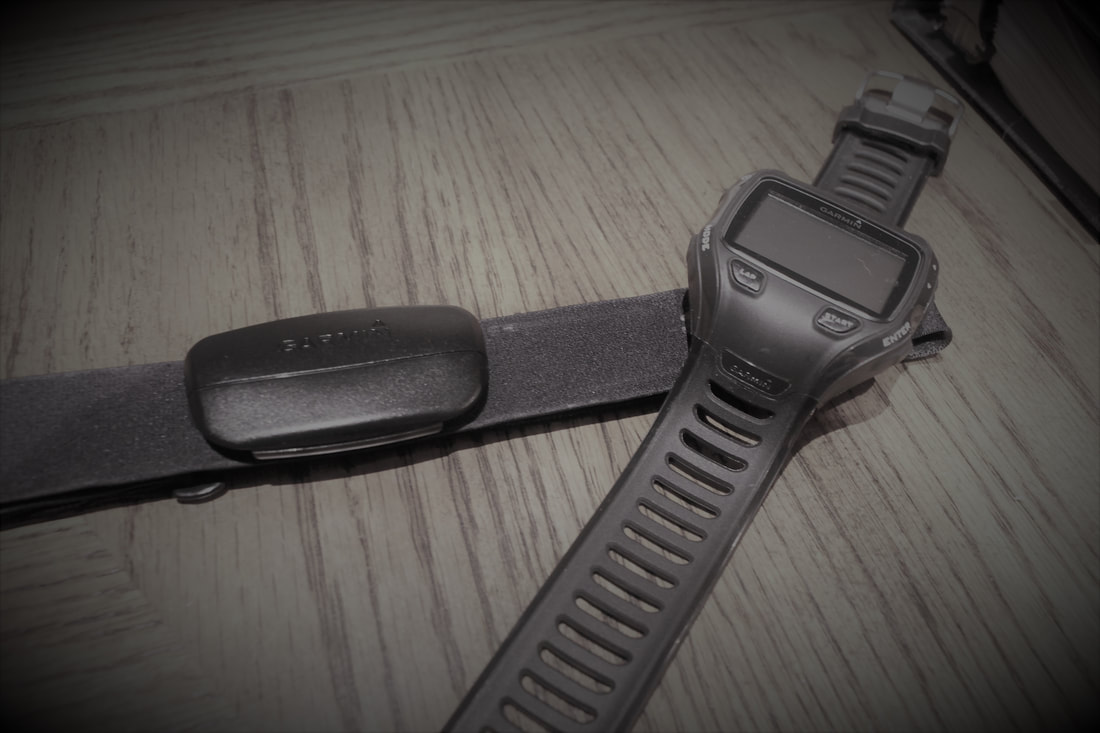
With power dominating the cycling and training world I think its worth a look back and to bring back some of the strategies and methods of using an old-fashioned heart rate monitor. A basic downloadable HR monitor can be purchased for well under $150. And the great thing about HR is that it is giving you a small window into your physiology. HR is a measure of internal stress which can be even more important than just the output aka power. An age old go to test for many is the old fashioned out and back time trial. Using a set distance and equalizing as many variables as possible you can usually track your improvement. The key is to eliminate as many variables as possible, such as equipment, clothing, position, fatigue, weather if possible. This way if all things being equal if you go faster = improvement. There are some other variables in there like pacing and motivation that can throw that off but its still not a bad way to measure physiological improvement. I’m going to outline another way to eliminate a couple more variables to the “ALL OUT” TT. Using a fixed HR for pacing and controlling your effort can help equalize both pacing and how deep you can dig on a test day. Equipment needed
Real world: Select a flat to gently rolling stretch of road aim for something between 5-10km long, If you’re a novice or just starting into cycling or training then aim for the shorter end. Key is to turnaround(safely) so you can hit/get the wind in both directions. As long as it’s the same course then it doesn’t really matter if its 10km or 20km total. Bonus points if you can find an L- shaped route that you can ride out and back on as this will make sure you hit/get the wind from 4 angles. Zwift: this Is a great use of the Zwift platform, for both power and zpower users, use one of the climbs or one of the shorter loops again aiming for 10-20km . If your using zpower and a trainer, note your tire pressure and how many turns you put on your trainer roller, If you using rollers just note your pressure front and rear. Again, its all about eliminating variables. YOU I’d recommend doing this after a rest day or early In a training block, it’s a pretty easy test so you can always add it into a longer ride or use it as a warmup. Try to do it at the same time of day and follow a similar nutrition plan for the day. Make notes of your equipment and tire pressures, clothing, bottles etc. You want to be relatively rested as fatigue can throw off your HR. Pacing This is the great thing about this test, it’s not a maximal test whatsoever so the HR you select to ride at isn’t crucial if you’re in a nice aerobic range. If you already train using HR zones us something near the top of your endurance zone. If you know your threshold HR, then aim for about 30 below that. For most people this will be somewhere in the 130-150 range…. you want to be breathing a little more than usual, but it shouldn’t be strenuous by any means. The test Even though this isn’t a maximal test a warmup is still a good idea, 20- 30 minutes of endurance riding with a few efforts to get the HR up is great. Starting is up to you, you can do a standing start… or just roll into it at the correct HR and hit your lap button as you pass the start line. Just keep it consistent test to test. The latter has the advantage of having time to find the correct effort level. Ride the course trying to maintain a comfortable consistent position on the bike, keep your head up(eyes on the road 99% of the time) with quick glances down to make sure you are riding within a few beats of your target HR. Your HR takes a few seconds to respond to effort changes so be gradual with any changes of pace so you don’t overshoot. When you finish, hit lap on your computer or note the time and avg hr if possible hopefully its bang on your target but if its off by a beat no sweat. Take notes! Be sure to record as much as you can so you can replicate the test as closely as possible…..almost like a science experiment. But more fun. Results Even though this isn’t a maximal test you should see your time come down and your avg speed go up over time with more aerobic training as your body becomes more aerobically efficient. You can do this test as often as you like but every 4-6 weeks is enough and don’t sweat it if 1 test takes longer. There are still some variables at play here, but you should see a trend downward. If you reach a plateau that’s a great time to add a little more intensity into your training program. If you give this a try let me know how it goes
1 Comment
|
Andrew
random ramblings from the corner Archives
November 2019
Categories |
Proudly powered by Weebly


 RSS Feed